Zeiss Scanners
#HandsOnMetrology
PARTNER
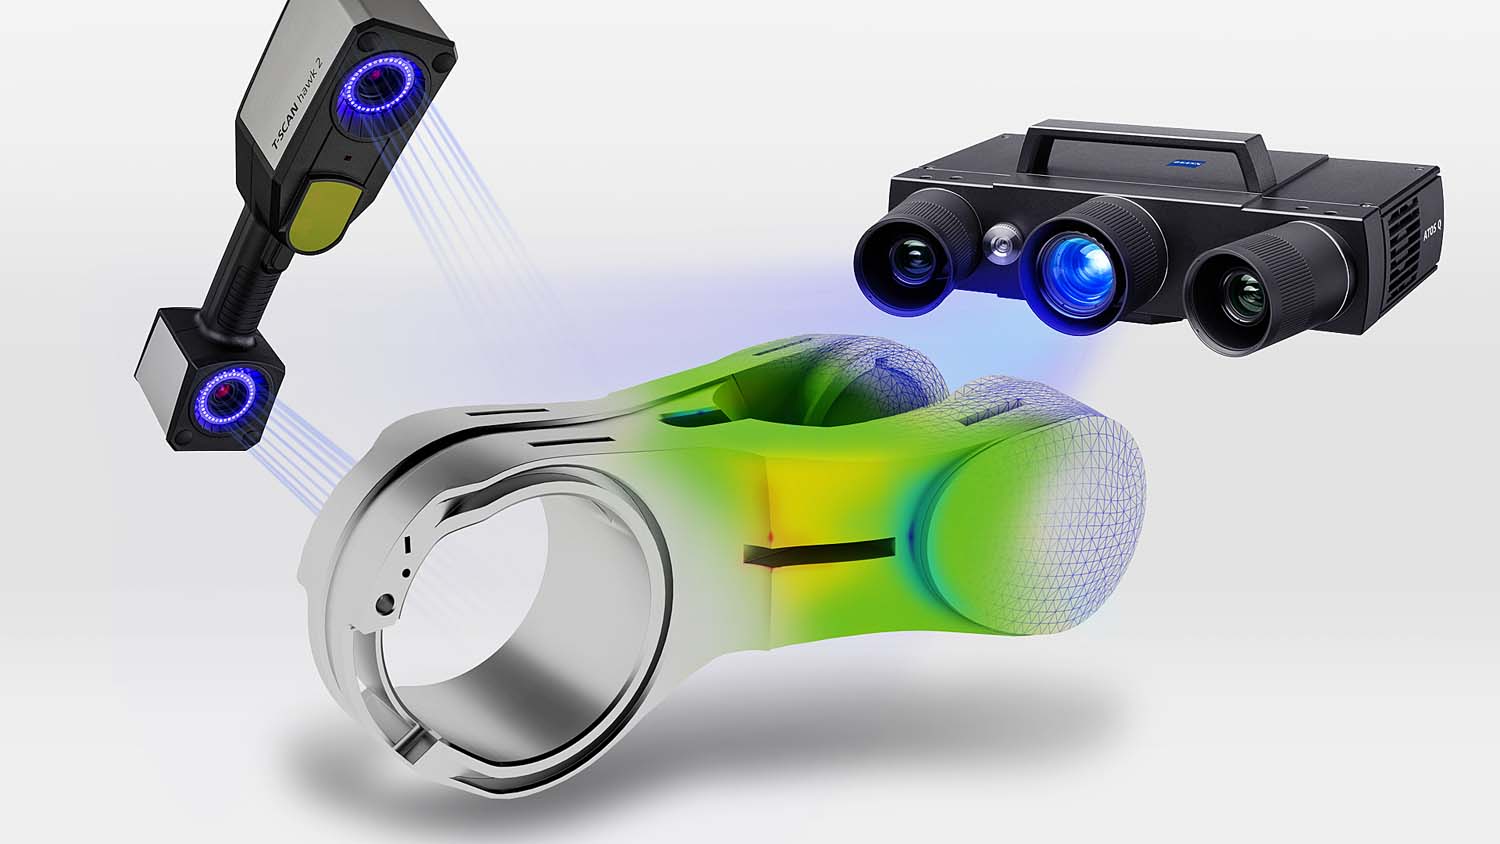
Structured Light Systems
- Capture a 3D Data Cloud of your part in a matter of minutes
- Uses 3D Blue Light Structured Technology
- Ambient Light does not influence results
- Create a STL file in matter of minutes
- Inspect your part against a CAD Model using ZEISS Inspect Software
- A vast range of applications:
– Quality control / inspection
– Tool and model making
– Design
– Rapid manufacturing
– Reverse engineering
– Archeology, documentation of art-historical objects, etc.
Scan 1
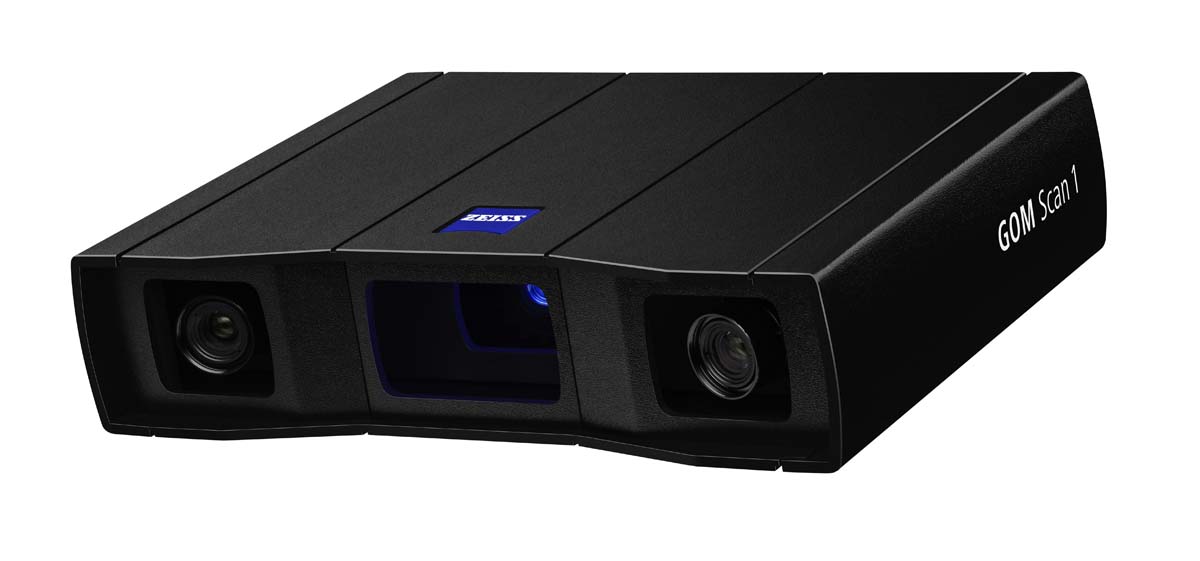
- Great Performance at a great price
- Three sizes, 100, 200, & 400mm
- Accuracy of .0007” over 40” cube
- 6 MB Camera
The sensor recognizes changing ambient conditions during operation and can compensate for these changes.
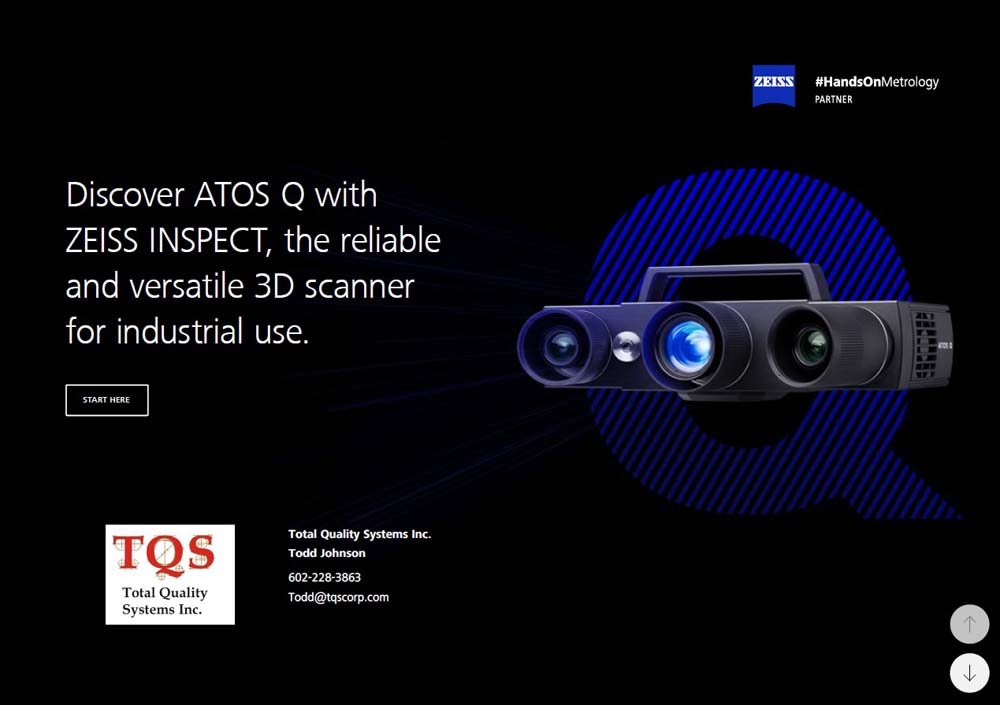
ATOS Q
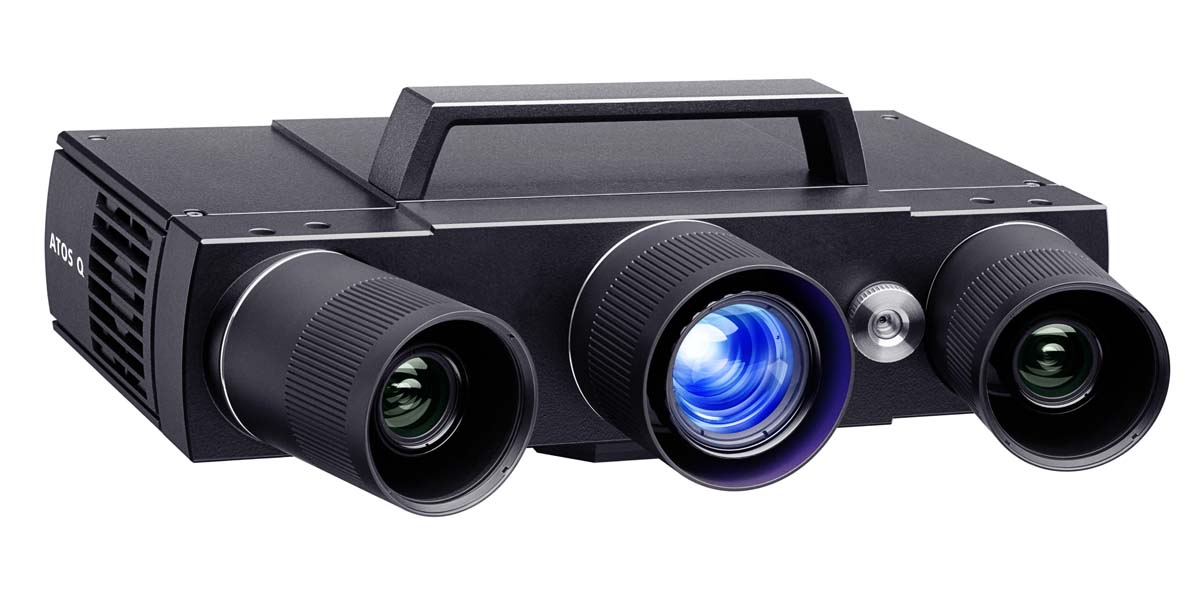
- For very demanding applications and inspection tasks
- 8MB or 12MB Camera
- Interchangable Lenses for different measuring volumes 100, 170, 270, 350, 500mm
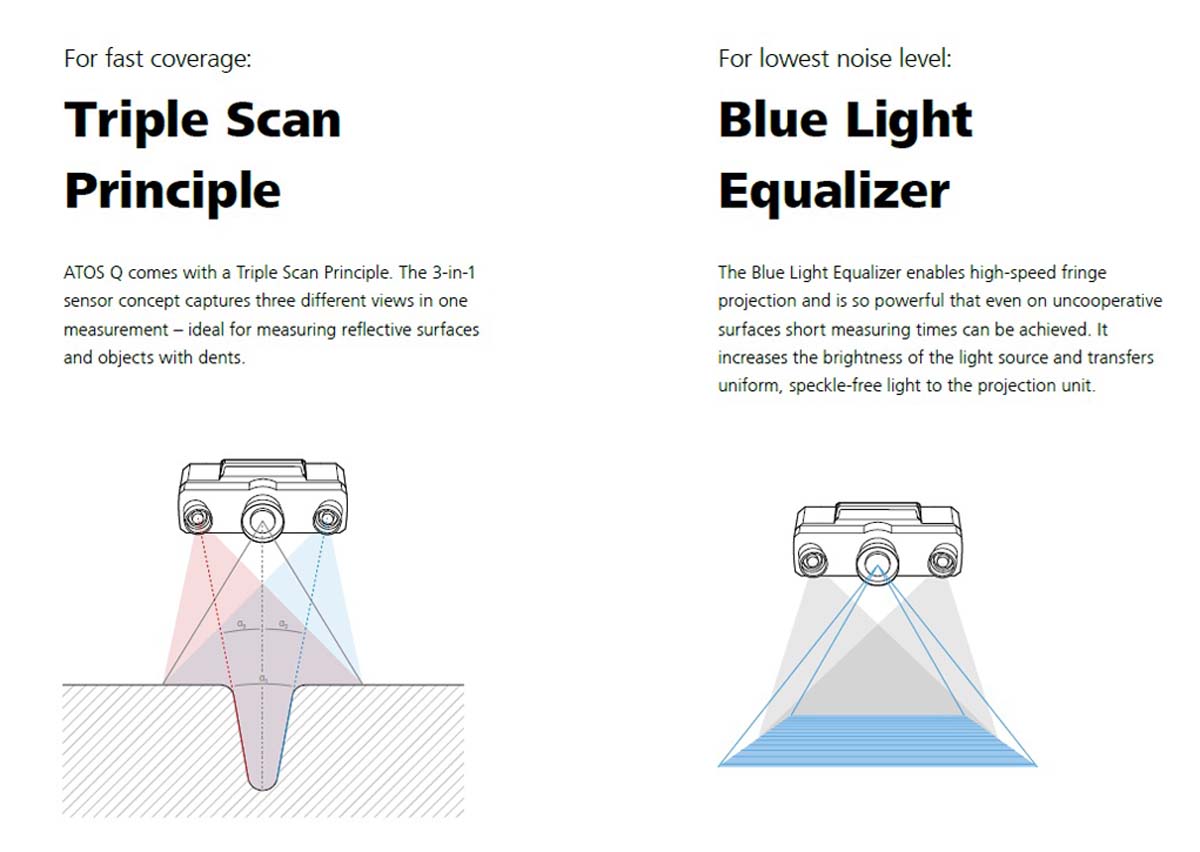
- Precise fringe patterns are projected onto the surface of the object and are captured by two cameras based on the stereo camera principle.
- Dustproof and splashproof – making it ideally suited for taking a project from the measuring room to production.
- The Blue Light Equalizer enables high-speed fringe projection and is so powerful that short measuring times
can be achieved even on optically uncooperative surfaces.
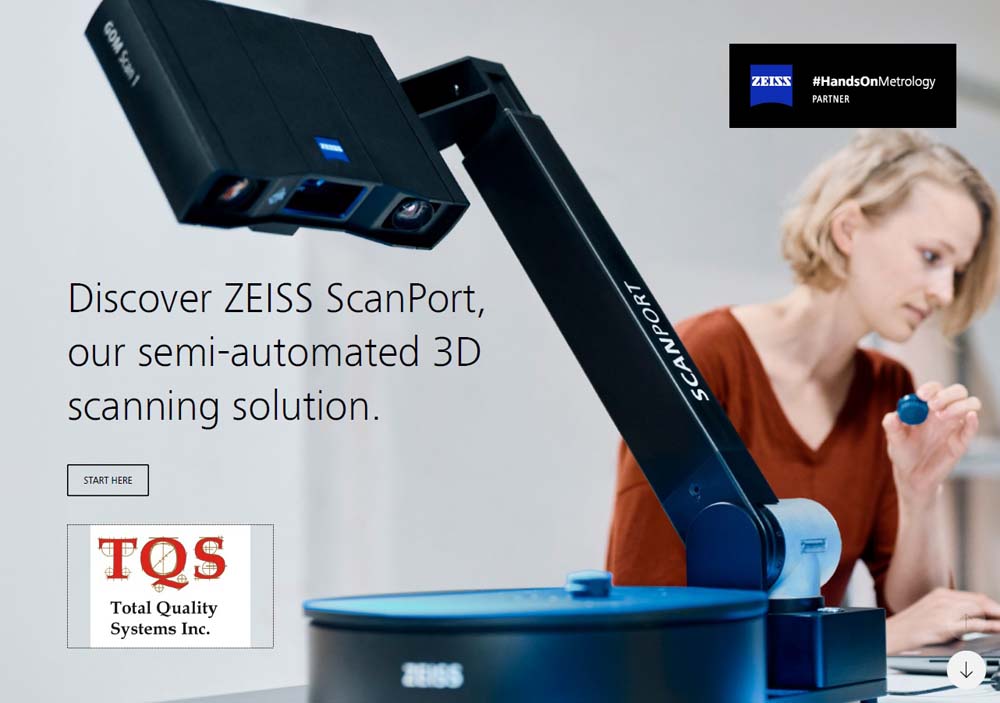
ScanPort
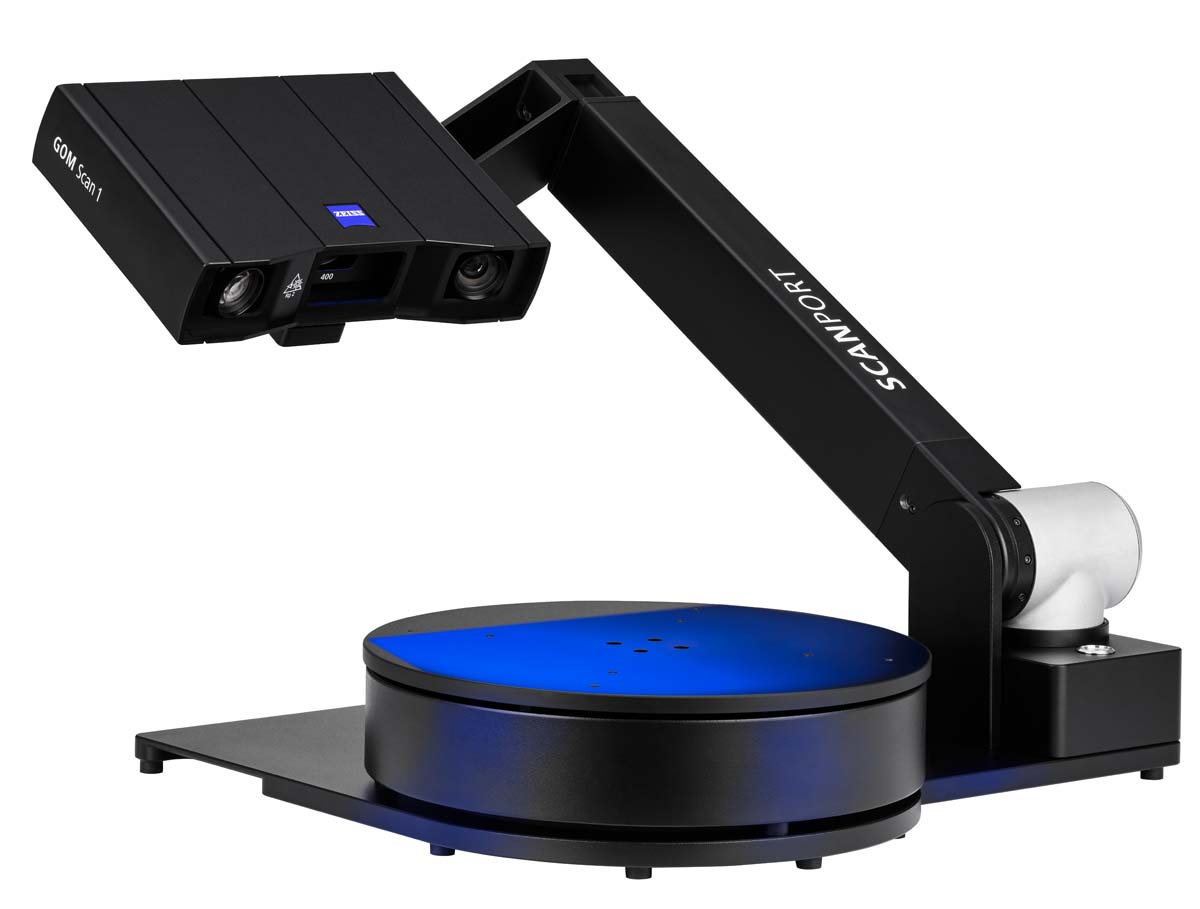
- A complete solution for 3-axis automation
- Mobile, can get a travel case
- Push a button and walk away
- Works with Scan1 or ATOS Q system
- Priced very well
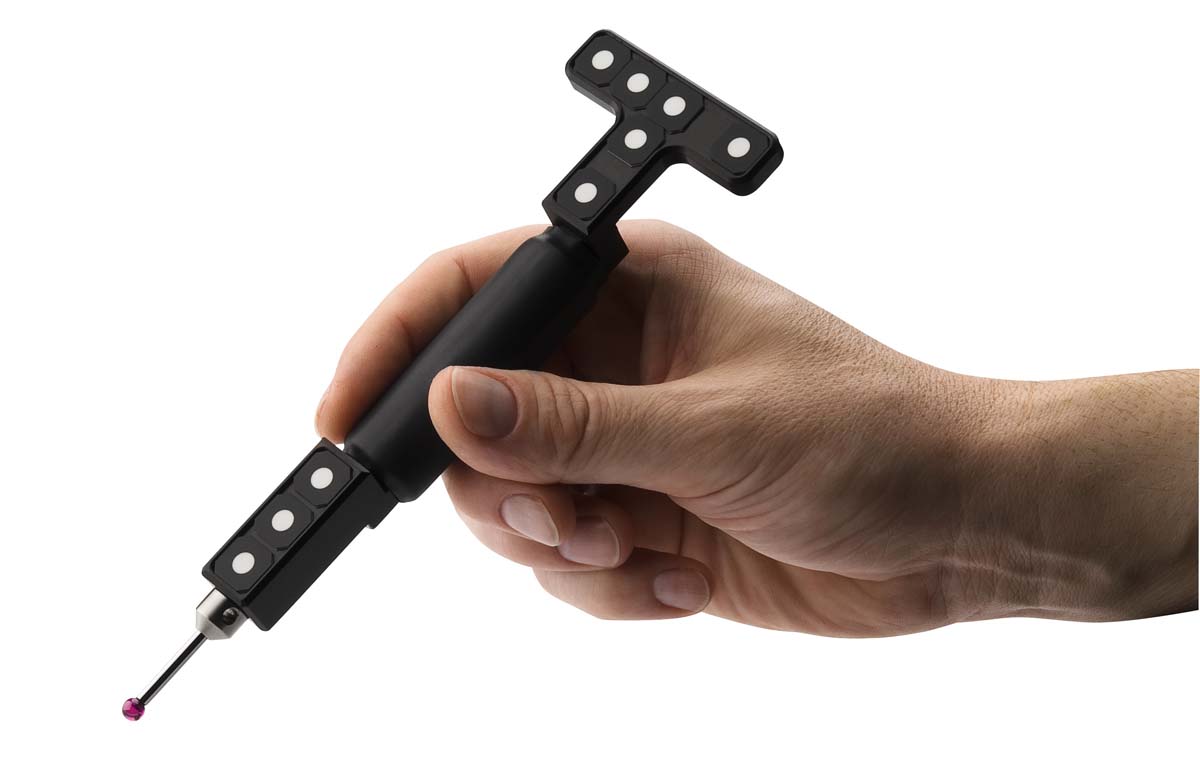
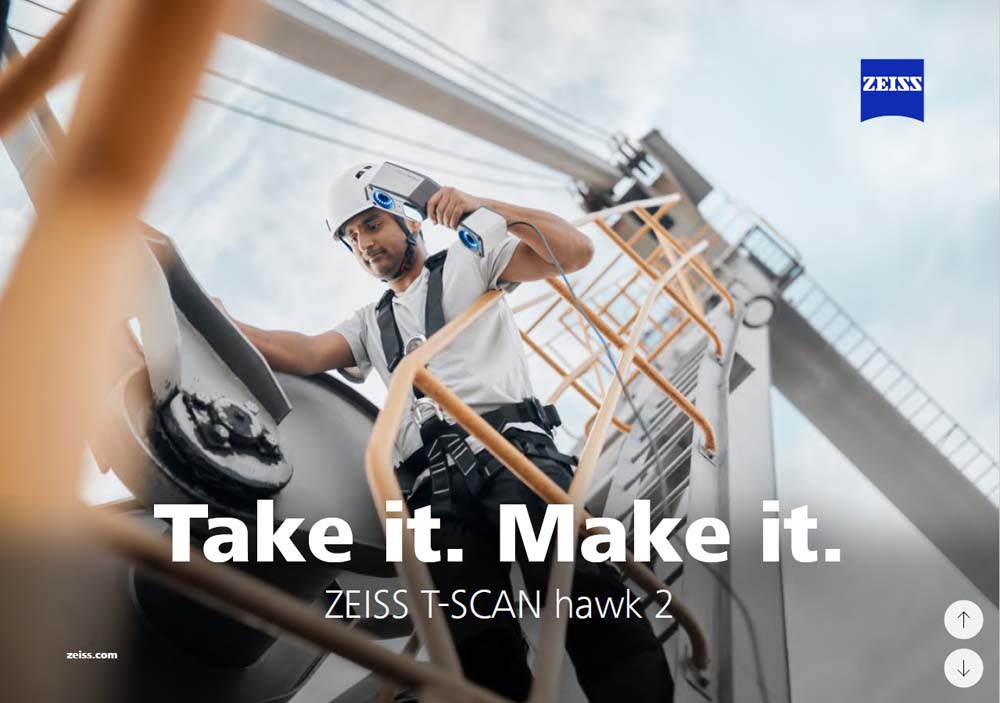
T-Scan Hawk 2
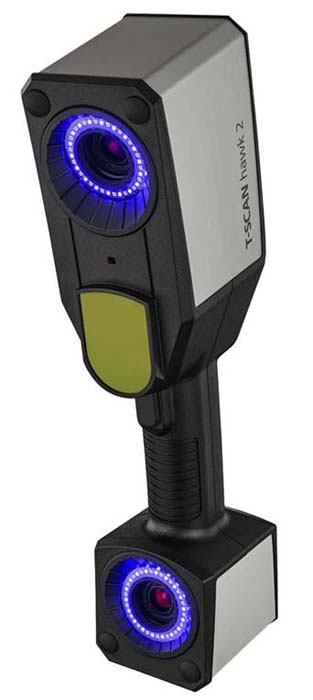
- Most accurate scanner in the industry
- Small parts to large parts
- Lightweight
- Intuitive controls without needing a keyboard
- A red laser marker helps you to easily adjust for perfect scanning results.
- Selectable Higher resolution button for detailed scanning.
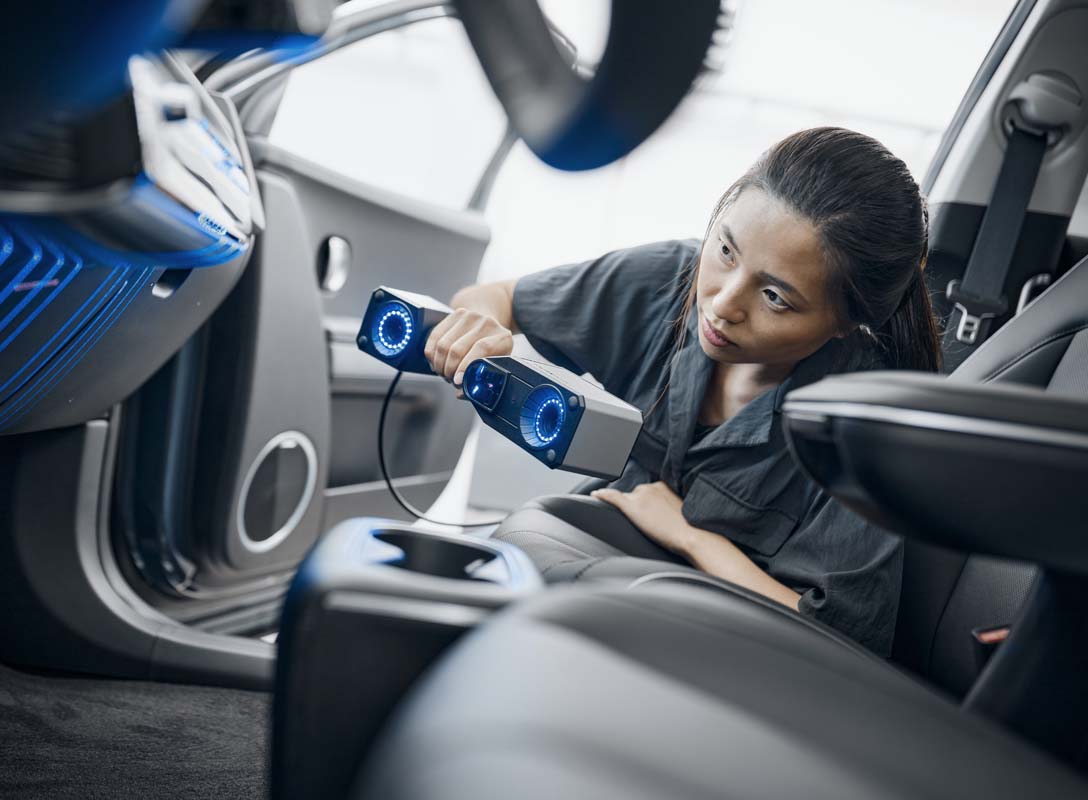
- Scan objects up to multiple meters in size with satellite mode.
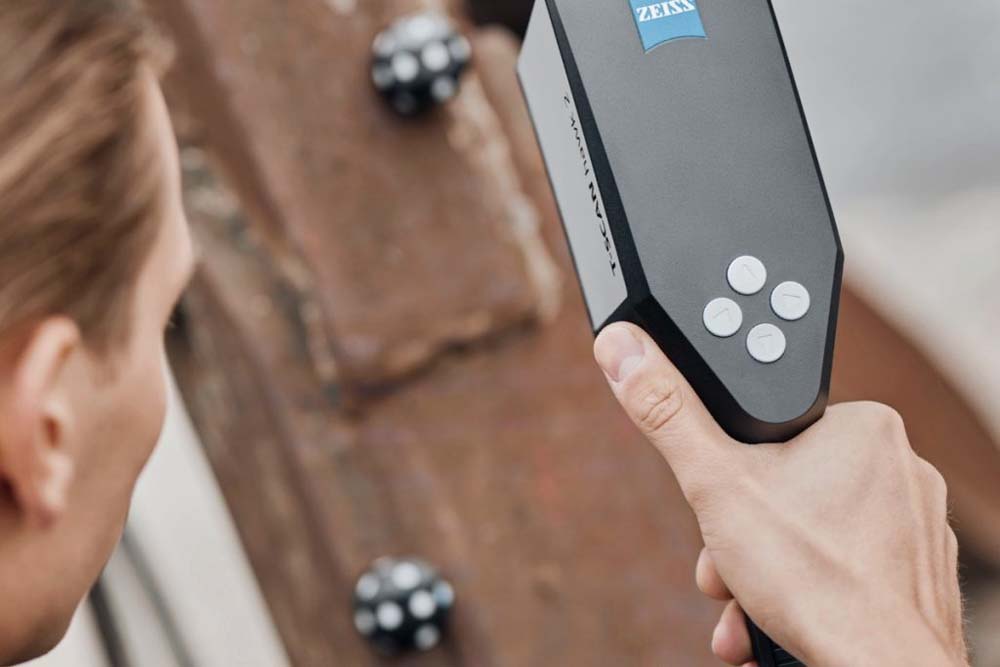
Four Buttons gives you full control of the system without having to use a keyboard
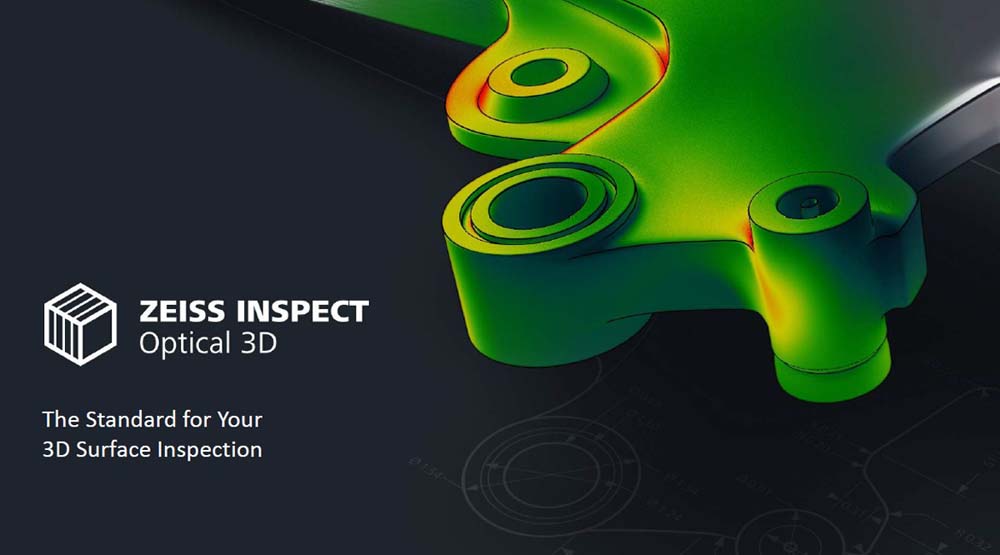
ZEISS Inspect
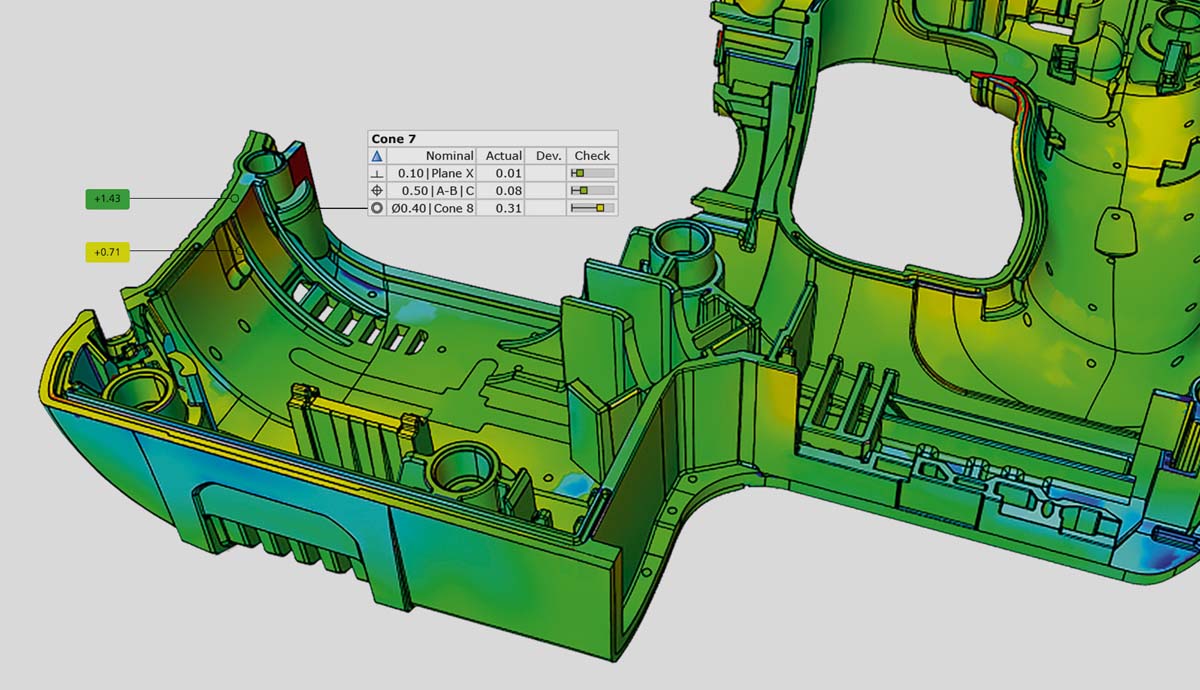
- Data captured with fringe light scanners, laser scanners, industrial CT-scanners, as well as coordinate measuring machines.
- Comprehensive integration of measurements and analyses, clearly arranged in one system.
- It allows to import native formats, like CATIA, NX, Solidworks and Pro/E, and even PMI. No need to convert data.
- It records each inspection step, allowing measurement plans to be easily tracked, repeated, and adjusted.
- Generate customized scripts
- Trend Analysis
- Compare several parts within one project
- Fast and simple defect inspections
- Accurate nominal-actual comparison
- Various reporting options
- Best scanner software on the market.
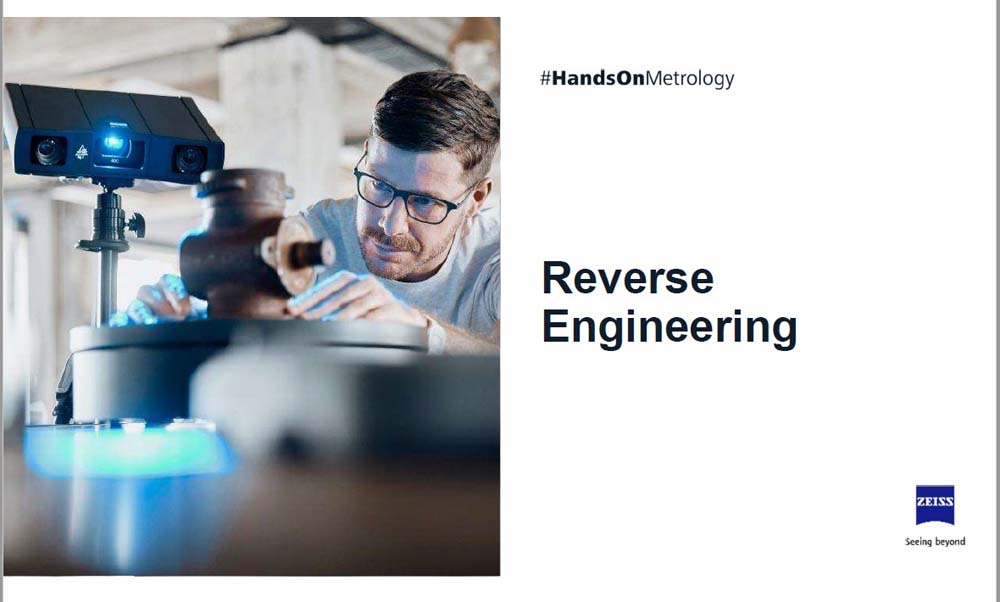
ZEISS Reverse Engineering Software

- Create CAD models quickly and simply from polygon meshes or point clouds
- Surface reconstruction and tool correction
- Powerful surface reconstruction software
- Import your STL or PLY data and ASCII formats
- Edit your measuring data with practical functions for STL data, such as filling holes or smoothing surfaces
- Software has “Surface approximation to points” when converting your data
- Special engineering tools for accurately remodeling flowing, organic shapes
- Even faster to CAD thanks to 2D-Sketching
